Meeting guide
How to prepare project terminology for translated technical meetings
Verli captures current audio and shows each original line with its translation under it.
Choose a language pair, such as English and Spanish, select the correct audio source, optionally add a glossary before capture, then copy checked notes.
Step 1: Choose Your Languages
Select the languages you and your colleagues speak in Language 1 and Language 2. The app detects which is spoken and translates both ways, so order does not matter.
The English/Spanish screenshot is an example. Your language pair and audio source choice are remembered locally.
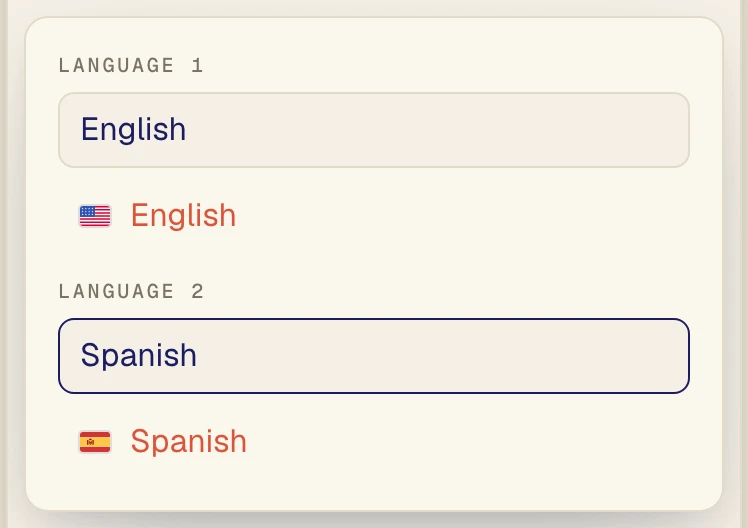
Choose the languages: English (1) and Spanish (2) are shown as an example pair.
Step 2: Open the AI Assistant and Enable the Knowledge Base
Click the Assistant button to open the AI Assistant panel. In the panel, turn on the Knowledge base switch before capturing. Optionally, add context to help guide recognition and translation.
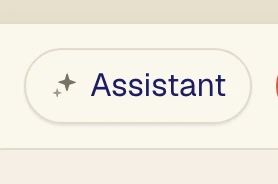
Select the Assistant button (1).
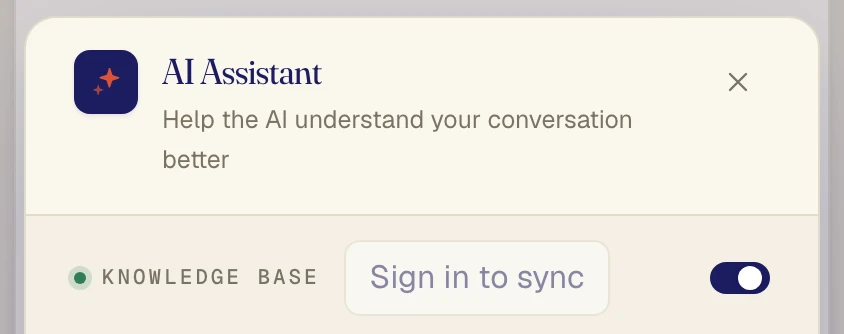
The Knowledge base toggle (2) is set to ON.
Step 3: Add context
The example lists WMS and SKU under Words to recognize and maps WMS to WMS in Preferred translations. Use approved project terms.
Context guides recognition and translation but does not guarantee improved accuracy. Edits apply on next capture, so stop and restart.
Drafts stay local. Signed in, Create new preset saves and syncs context only, not selected languages or audio source.
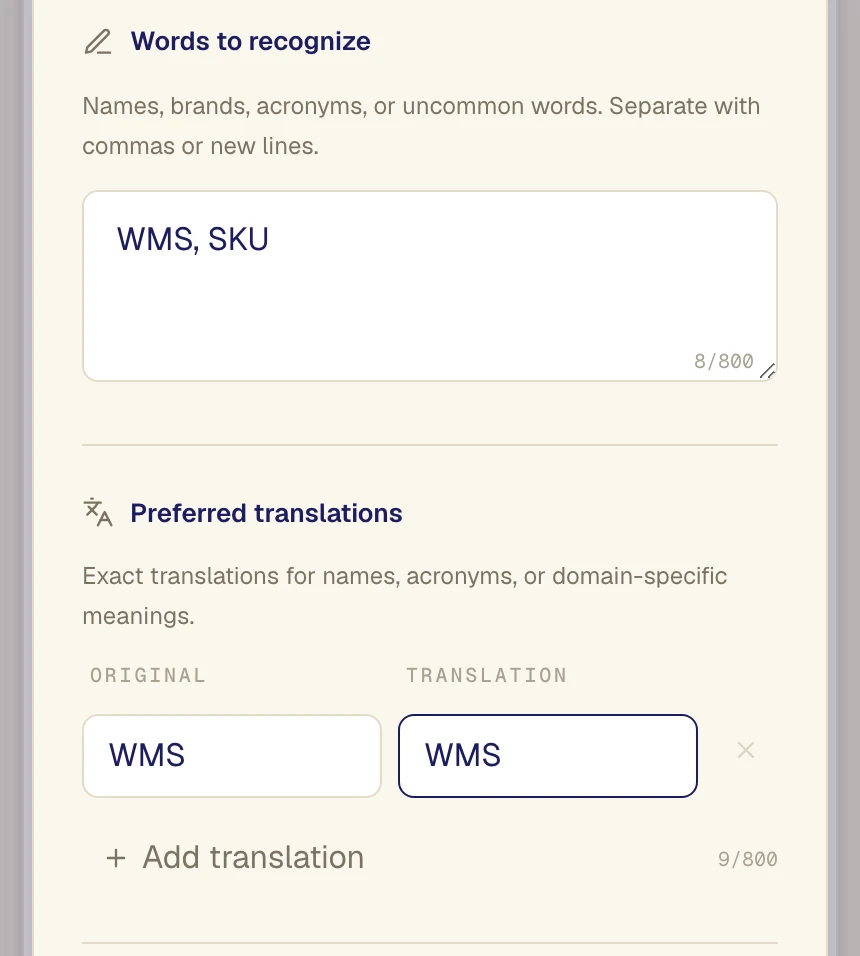
Illustrative example: 1 Words to recognize lists the generic acronyms WMS and SKU, and 2 Preferred translations asks for WMS to stay as WMS.
Step 4: Choose audio sources
Microphone captures your own speech. Desktop audio captures meeting sound on your computer. Turn both on for Mix (see screenshot).
To listen only, turn Desktop audio on and Microphone off. For a room speaker, use Microphone.
Verli does not automatically route translated speech into the meeting. Your normal meeting microphone still works.
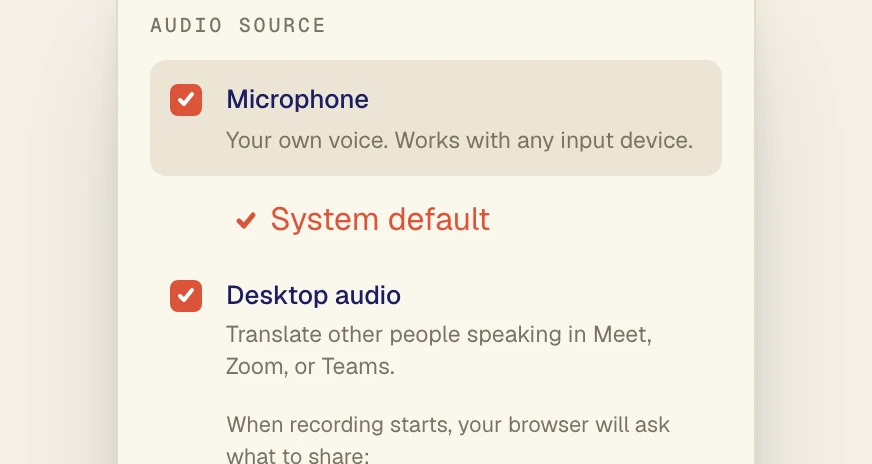
Example setup for a call where you also speak: 1 Microphone and 2 Desktop audio are both on, shown as Mix.
Step 5: Start Capturing Your Meeting Audio
Press Start with Mix selected. For a browser meeting, choose the Chrome Tab containing your call and enable tab audio.
For native Zoom or Teams, use the Verli Mac or Windows app and grant the requested permissions.
Choose Entire Screen only if system audio is offered and switched ON, as support varies. See meeting setup for details.
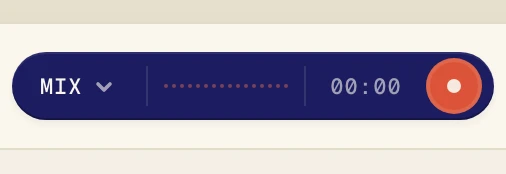
Mix is selected to capture both microphone and desktop audio. Click Start (1) to begin the meeting session.
Step 6: Review the main console
The main console shows original text above its translation. The screenshot is a synthetic demo.
In the Mac and Windows apps, Verli can read translated text aloud to you. It does not automatically transmit speech to other participants or insert captions into the meeting platform, so others still need to understand what you say. On desktop, floating captions give you a compact view beside the meeting window.

Synthetic sample: the original text Hello world. (1) appears with its translation Hola mundo. (2).
Step 7: Copy and Save Your Transcript
Tap Copy transcript. It copies instantly and opens copy options. Changing Include timing, Include speaker, or Include language copies again automatically, so no second Copy is needed. Paste it into your project notes.
Saving is on by default unless you opted out; change this in Settings. Saved History keeps the original and translation, with no search or folders. Summaries are on demand and copyable but not saved. Raw audio is never retained.
Audio and transcripts are processed in the cloud. A summary sends the transcript and any enabled context to Gemini after a disclosure. With Auto-detect, the start of the transcript also goes to OpenAI to pick the summary type. Details are in the Verli privacy policy.
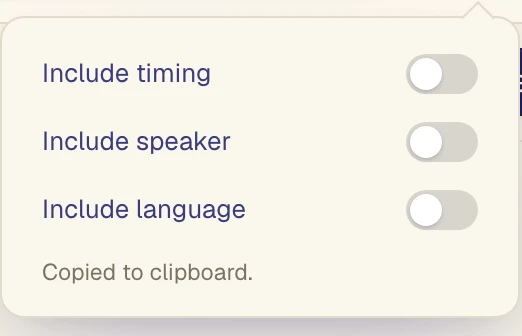
Copy options Include timing (1), Include speaker (2), and Include language (3) are all OFF.