Learning guide
Follow an online course in another language while it plays
Play a course on your computer and capture Desktop audio. Choose the course language and your language. Read the original with a translation. Before you press Start, prepare optional course terms. Verli has web, macOS, Windows, and Chrome extension versions.
Step 1: Choose your audio source
Open Audio source. If your course is playing on your computer, turn Desktop audio ON and Microphone OFF. The pill will say Desktop.
To capture your own speech too, turn both ON. The pill will then say Mix.
If the audio plays from a room speaker instead, turn Microphone ON. For more help choosing, see the audio source guide.
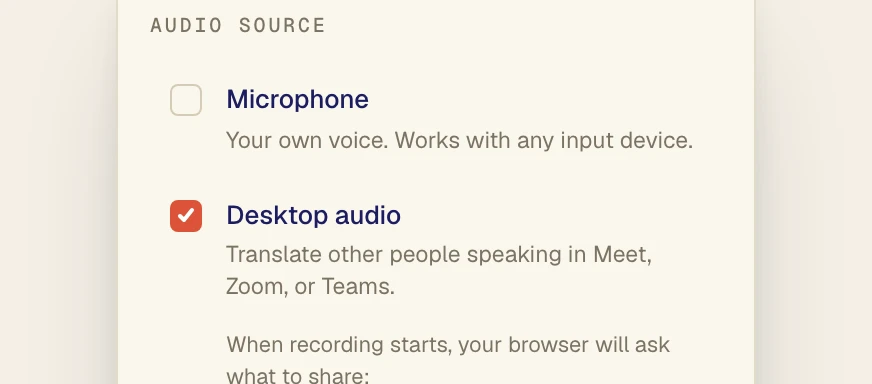
Example setup for a course playing on your computer: Microphone off (1) and Desktop audio on (2).
Step 2: Choose your languages
Tap the language pill to open Language 1 and Language 2. The English and Spanish screenshot is an example. Choose your course language and your language.
Verli detects which one is spoken and translates both ways. Pair order is not a fixed source and target setting. Your last pair and audio source stay local in the same browser or app.
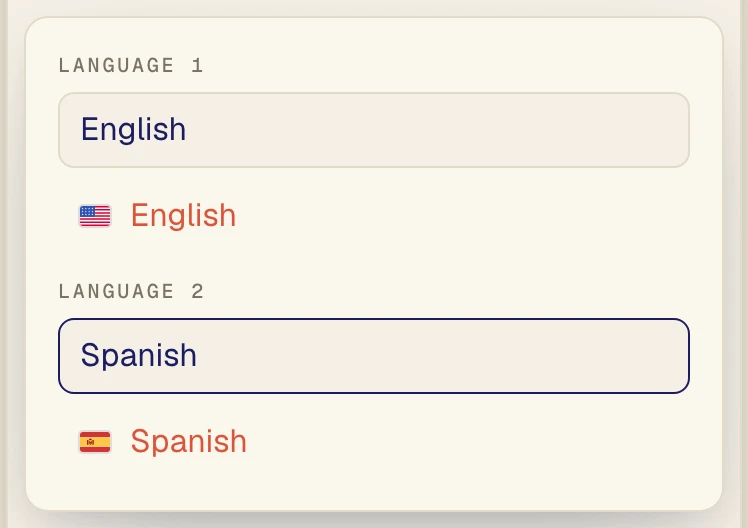
Choose the languages: English (1) and Spanish (2) are shown as an example pair.
Step 3: Add a knowledge base
Select the Assistant button to open the AI Assistant panel. Before capturing, you can optionally turn on the Knowledge base switch. Then fill in Conversation details, Words to recognize, Preferred translations, and Background notes.
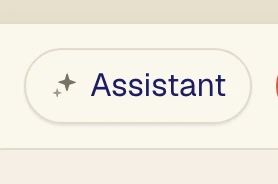
Select the Assistant button (1).
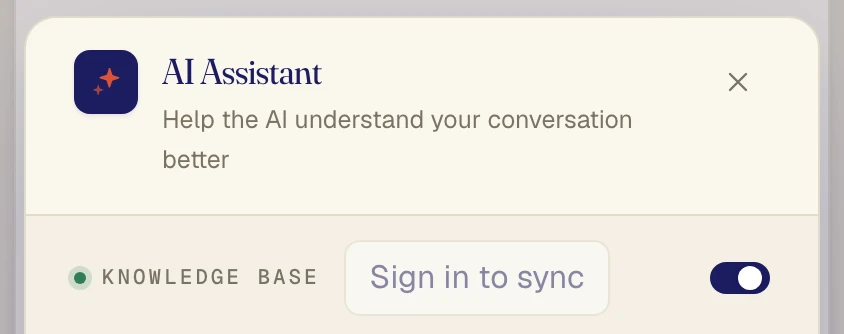
The Knowledge base toggle (2) is set to ON.
Step 4: Add context
Add terms from your approved glossary. In this example, Words to recognize lists WMS and SKU, and Preferred translations maps WMS to WMS.
You can also add your course topic in Background notes, a separate field not shown here. Context can help, but it does not guarantee accuracy.
Changes apply starting with your next capture, so stop and restart capture to use edits. Drafts stay on your device. When signed in, Create new preset saves and syncs your context only, not languages or audio.
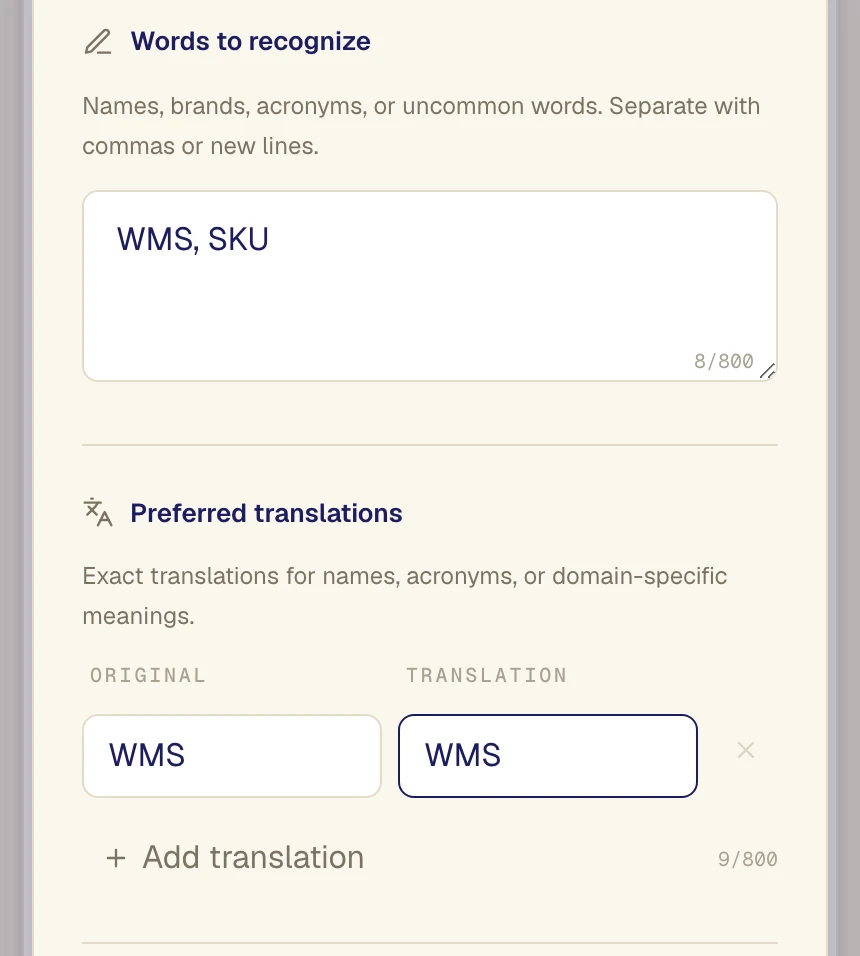
Illustrative context with generic acronyms: WMS and SKU as Words to recognize (1), and WMS kept as WMS in Preferred translations (2).
Step 5: Start Capturing Your Course Audio
Press Start with Desktop selected. When the browser picker opens, choose Chrome Tab, select the tab containing your course, and enable tab audio.
If you see no shared audio track, stop sharing and share again with audio turned on.
If your course runs in a native program, use the Verli desktop app for Mac or Windows and grant the requested permissions.
Choose Entire Screen in the browser only if system audio is offered and switched ON; support varies. See class audio setup for details.
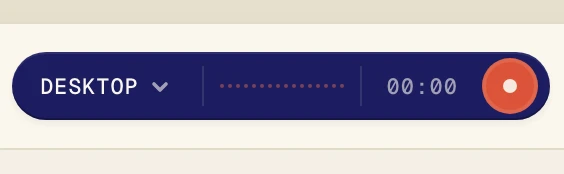
Select the Start button (1). Desktop is selected.
Step 6: Review translated captions
Each segment shows original text above its translation.
The screenshot uses a synthetic Hello world./Hola mundo. example. It is not a real course or proof of accuracy.
Terms, names, and numbers can be wrong, so check values and formulas against slides or handouts.
On desktop, floating captions are separate windows, not inside the course player.
Check assessment rules before assistance.

Synthetic sample: the original text Hello world. (1) appears with its translation Hola mundo. (2).
Step 7: Copy, Save, and Revisit Your Transcript
Click Copy transcript in Verli. It copies the text immediately and the options open. If you change Include timing, Include speaker, or Include language, Verli copies the text again with your new settings. Paste it into your own course notes and add the lesson link.
Saving is ON by default unless you opted out; change it in Settings. Saved History stores both original and translated text and reopens records, but has no search or course folders.
Raw audio is not kept, so replay the course itself. An on-demand meeting summary can be copied but is not saved as a study pack.
Audio and transcripts are processed in the cloud. A summary sends the transcript and any enabled context to Gemini after a disclosure. With Auto-detect, the start of the transcript also goes to OpenAI to pick the summary type. Details are in the Verli privacy policy.
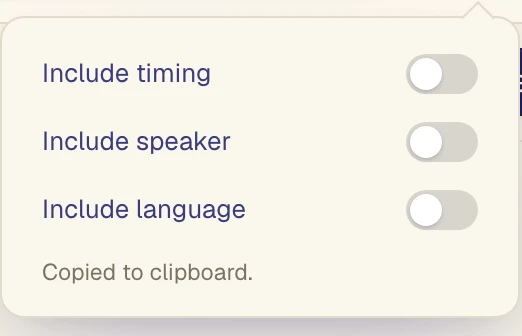
Copy options Include timing (1), Include speaker (2), and Include language (3) are all OFF.